
3D JEWELRY WORKSHOP
"Anything can be a pendant"
In this workshop, you will learn how to create simple geometric jewelry in 3D design tool Vectary, how to see it in augmented reality and how to put it as an interactive 3D elemnt on your website.
What you'll need:
-
Computer with Chrome browser
-
mouse
-
Internet connection
Important websites:
www.vectary.com - 3D design, augmented reality preview, 3D/AR web embed
www.shapeways.com - to order a 3D print of your jewelry
Promo code, one month free of Vectary: MIABIEL3D
Getting started
1. Go to Vectary.com and create an account. Recommended browser is Chrome.
2. On the Dashboard click on Create a new project or Start creating and go through Step by step tutorial to learn Vectary basics - how to move on the scene, how to zoom, how to pan. You can always replay the Onboarding tutorial in the Help menu - question mark in the bottom right corner. When finished click on the hamburger menu and "Back to my projects".
Tip: You learn from mistakes. Don't be afraid to experiment. Undo or Step back will become your favorite shortcut: CTRL+Z (Cmd+Z for Macs)
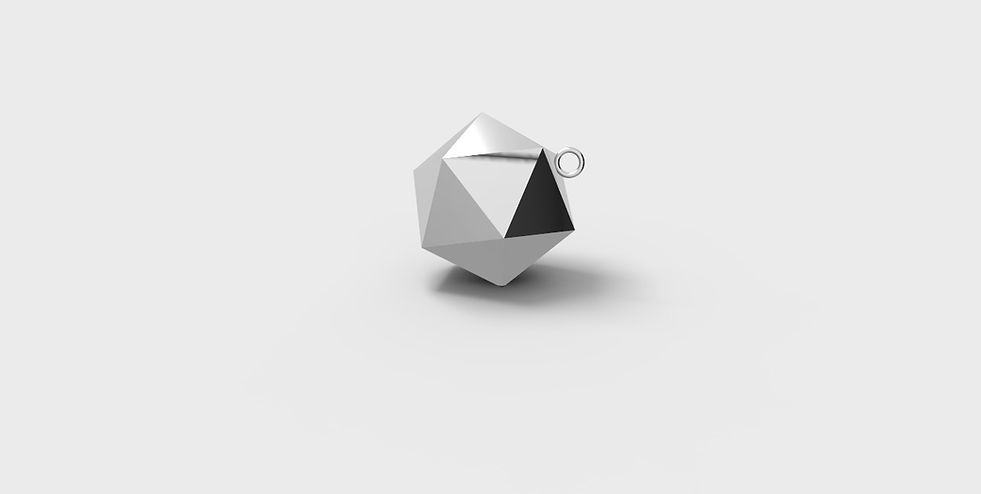
Level Easy: Simple polyhedron jewelry
3. Create a new project. Click on Object mode tab. Hover over Primitives and click on Polyhedron. Go to the right panel and set the subdivide to 0 - to see it low poly.
4. Click on Library tab and in the right panel search for "pendant". A pin for necklaces will appear. Drag and drop the image on the polyhedron and place it on the top. You can always move the pin by left click and drag on the white circle in the middle of the gizmo.
5. Push the pin inside the polyhedron with blue arrow on the gizmo.
6. Group polyhedron and the pin. Go to the left panel - hold shift and select both - now press CTRL+G (Cmd+G for Mac)
7. Select polyhedron and change the material to Silver: Go to Library tab and search for "silver" in the right panel. Click on the material.
8. Go to Hamburger menu > Settings and enable Dimensions and Bounding box so you can see the size of the jewelry. Now resize the pendant - drag the grey cube on the gizmo. Let's say you want it under 30 mm tall.
Order a 3D print
1. Click on the Export tab and Export as STL file. You might need to use the coupon now MIABIEL3D - as the exporting is the paid Vectary feature.
2. Go to Shapeways.com. Create account. After confirming the account upload the STL file from your computer. Now you can pick a material and order a 3D print. If you want to decrease the price, resize the 3D model to make it smaller.
See it in augmented reality
1. Click on the Export tab and Export as USDZ. USDZ is an Apple AR format. You can send it via iMessage, put it on your blog etc.
2. An email with URL with your USDZ file was sent to your email. Open the page in Safari browser on iPhone or iPad with iOS 12 and above. Click on the image - an ARkit will be activated. Follow the instructions on the phone.
Get it as an interactive 3D on your website or blog
1. Make sure your design is in the middle of the grid. Zoom, rotate and pan the view you want to be shown on the website. Go to Embed tab and click on Generate Embed button.
2. Go to your website/blog editor and paste the generated iframe code there. The principle is the same as embedding a YouTube video.

Level Medium: Wired polyhedron jewelry
1. Continue in the previous polyhedron project. Click on Polyhedron in the left panel to select it and Click on the Edit tab so you can edit the geometry. A popup "Convert to geometry?" will appear. Confirm with Bake button.
2. Now select faces of the polyhedron. Use the Marquee tool or Select all (CTRL+A). Probably the lines will be selected as default. You can easily switch it by clicking on the Select faces icon in the upper left corner.
3. Use Bevel tool to add extra faces on the edges of the polyhedron. Drag the blue handle. Click anywhere on the canvas to finish the bevel.
4. The inner triangle faces should be automatically selected. If not, you can always select them manually (hold SHIFT and click). Press Del or Backspace on your keyboard to delete selected faces. Now we have a polyhedron with holes, but what we are missing is thickness. Click to Extrude tool. Drag the blue arrow to add the thickness.
5. Click on the Object mode tab. And adjust the pendant pin with gizmo - click on the pin and use arrows, cubes and circles to move, resize and rotate it.
6. BONUS: You might need to cut the bottom of the pin - depending on the thickness of the polyhedron. To do so - enter the Edit mode and use the Cut tool. Then select the part of the pin and delete it (press Del). Use Cap open boundaries tool to close the hole at the end of the pin. Now enter the Object mode and assemble the pin position.
Share it as 3D post on Facebook
1. Go to Export tab and export the jewelry as GLB. Go to Facebook to start a new Facebook post. Drag and drop the file and wait for it to load. You can change the background now and add a post description.

Level Medium: Geometric flower
1. Create a new project. Go to Object mode, hover over Primitives and click on the Cone. In the right menu adjust the segments to 3 to create a pyramid and lower the height of the shape.
2. Adjust the size of the pyramid and move it a little on the side from the center of the grid. Now go to Object mode - hover over Generate icon and click on the Array Radial. Edit the Count number to around 12 - 15, And edit the Radius so every copied pyramid touches each other - approximately 40 (depending on your model)
3. Click on the Cone in the left panel and rotate the pyramid with the gizmo. All the copied pyramids will automatically rotate too. Click on The Array in the left panel and adjust the radius.
4. Click on the Cone in the left panel - go to Library and search for silver. Click on it. Now search for "pendant" and place the pin on the face of the pendant. Push it inside the pendant with the blue arrow.
Did you like the workshop? Give us a feedback: hello@miabiel.com